The Art of Illumination: Understanding 3-Point Lighting for Interview Filming
Lighting is the lifeblood of any visual medium, subtly shaping our perspective of the world it presents. It molds the mood, guides attention, and provides depth to a scene. For filmmakers, one essential and tried-and-true technique is the 3-point lighting system. This fundamental method illuminates subjects from three different directions, each serving a unique purpose. Let’s dive in and unpack the 3-point lighting system and how it brings life and depth to interview filming.
The 3-point lighting system consists of three primary lights: the key light, fill light, and back light, each lending to a different aspect of the subject’s portrayal.
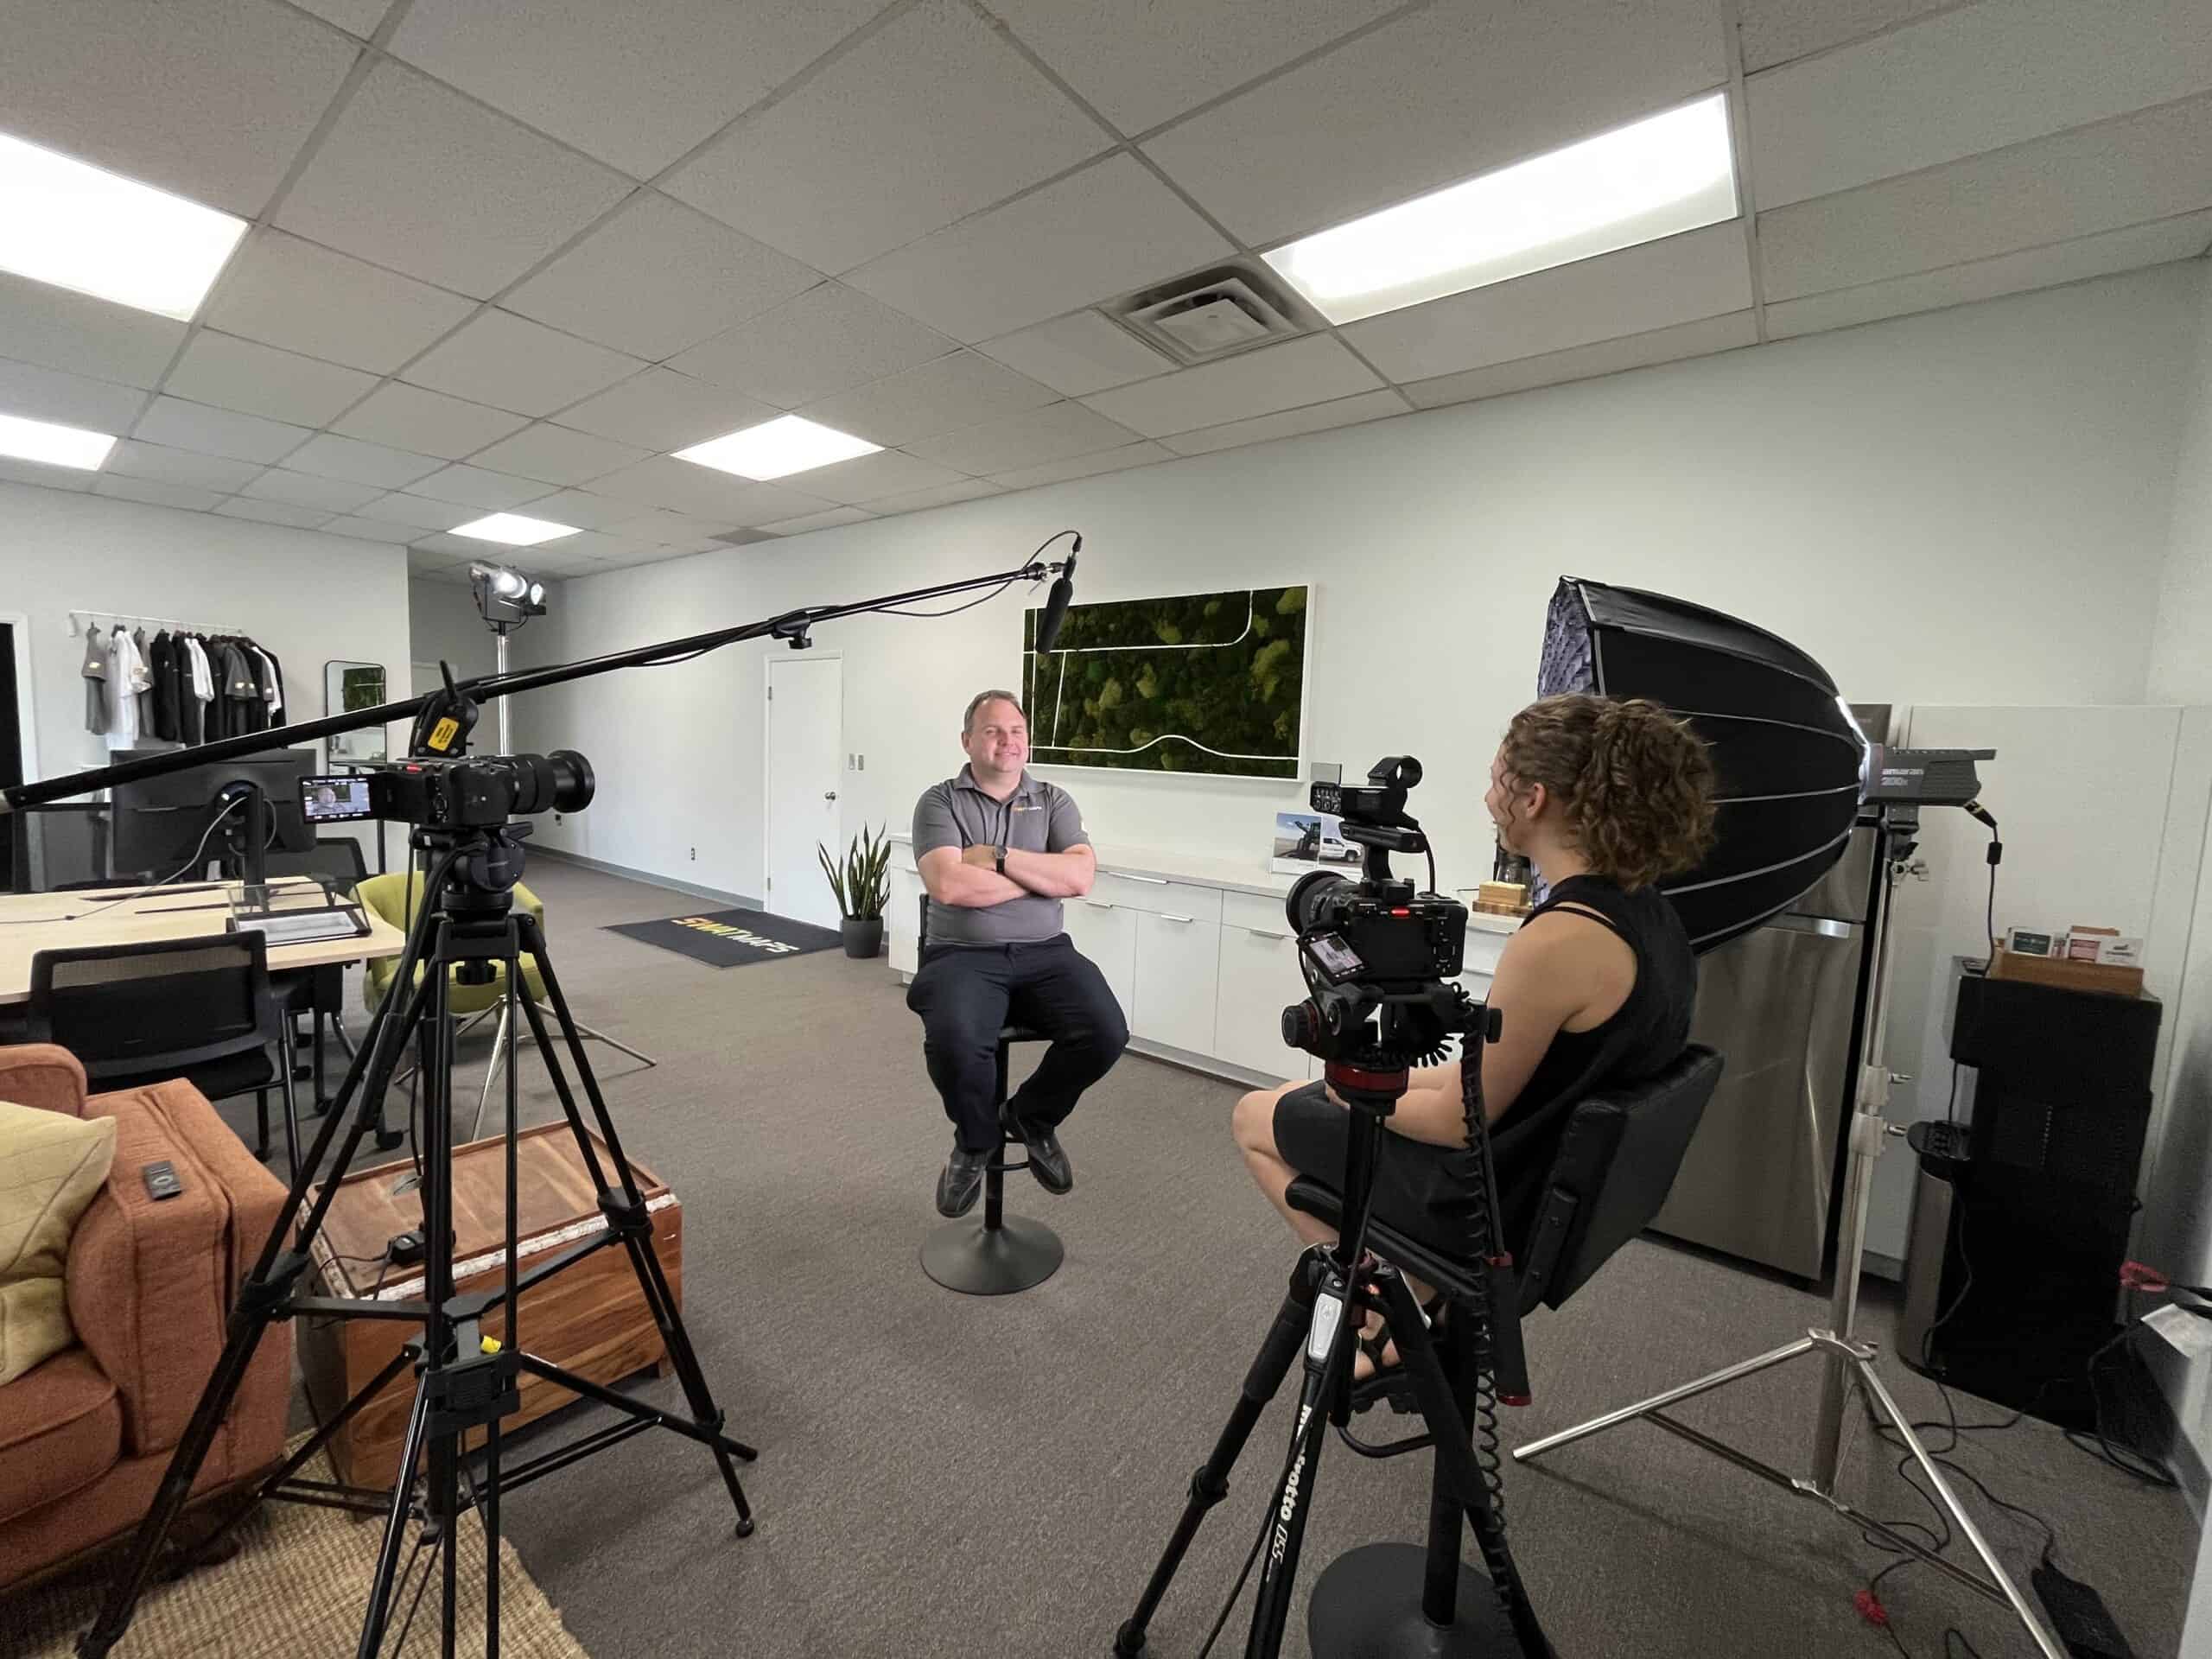
Key Light: The key light is the main source of illumination. Positioned off to one side of the camera, typically at a 45-degree angle, it shines directly upon the subject. The key light is usually the brightest of the three, carving out the subject’s primary features, creating dimension, and defining the overall tone and texture.
Fill Light: Opposite the key light is the fill light. Its purpose is to soften and reduce the shadows cast by the key light, ensuring the subject’s features aren’t overly contrasted or obscured. The fill light is often diffused and less intense than the key light, balancing out the lighting rather than creating more dramatic shadows.
Back Light: Situated behind the subject, the back light serves to separate them from the background, adding depth to the shot. This light creates a soft glow around the subject’s outline, enhancing the three-dimensional effect and avoiding a flat, two-dimensional appearance.
In an interview context, the 3-point lighting setup is pivotal. It not only enhances the aesthetics but also emphasizes the interviewee’s expressions and reactions, reinforcing the content’s emotional impact. The key light could highlight the earnestness in the interviewee’s eyes, the fill light might soften the shadows to reveal a subtle smile, while the back light distinguishes them from the backdrop, keeping the viewer’s attention focused.
That said, 3-point lighting isn’t a one-size-fits-all method. Filmmakers can adjust the lighting positions and intensities based on the specific requirements of the scene or the subject’s features. For example, reducing the fill light might create a more dramatic mood, while adjusting the back light could influence the perceived depth of the scene.
Moreover, the colors of the lights can be altered to create different effects or moods. Warm light can be used to make the scene feel more intimate or nostalgic, while cooler light can make it feel more serious or melancholic.
Remember, the 3-point lighting system is a fundamental building block, a starting point from which filmmakers can venture and experiment. As with any art, rules are there to guide us, but sometimes, breaking them can lead to a fresh and creative approach.


Whether you’re filming an interview or any other scenario, understanding and mastering 3-point lighting is a must-have skill in your filmmaker toolkit. It’s all about painting with light to tell your story in the most impactful and visually engaging way. After all, filmmaking is not just about what you see, but how you see it.
